
A Practical Engineering Guide for Professional Gym Flooring Projects
Introduction
Choosing a spring floor kit is not a branding decision, nor is it a simple price comparison. For professional gymnastics clubs, cheerleading facilities, dance studios, and sports flooring integrators, a spring floor system is a structural and performance-critical component. It directly affects athlete safety, training efficiency, long-term maintenance costs, and whether a facility can meet competition or certification requirements.
In B2B projects, especially those involving large floor areas or repeated installations, mistakes made at the spring selection or testing stage are costly to correct later. This guide explains how to choose and test a spring floor kit from an engineering and practical perspective, focusing on real-world installation logic rather than marketing claims.
This article is written for:
- Gym flooring system integrators
- Gymnastics and cheer facility owners
- Equipment brands sourcing OEM components
- Contractors responsible for floor performance and safety
1. What Is a Spring Floor Kit and Why It Matters
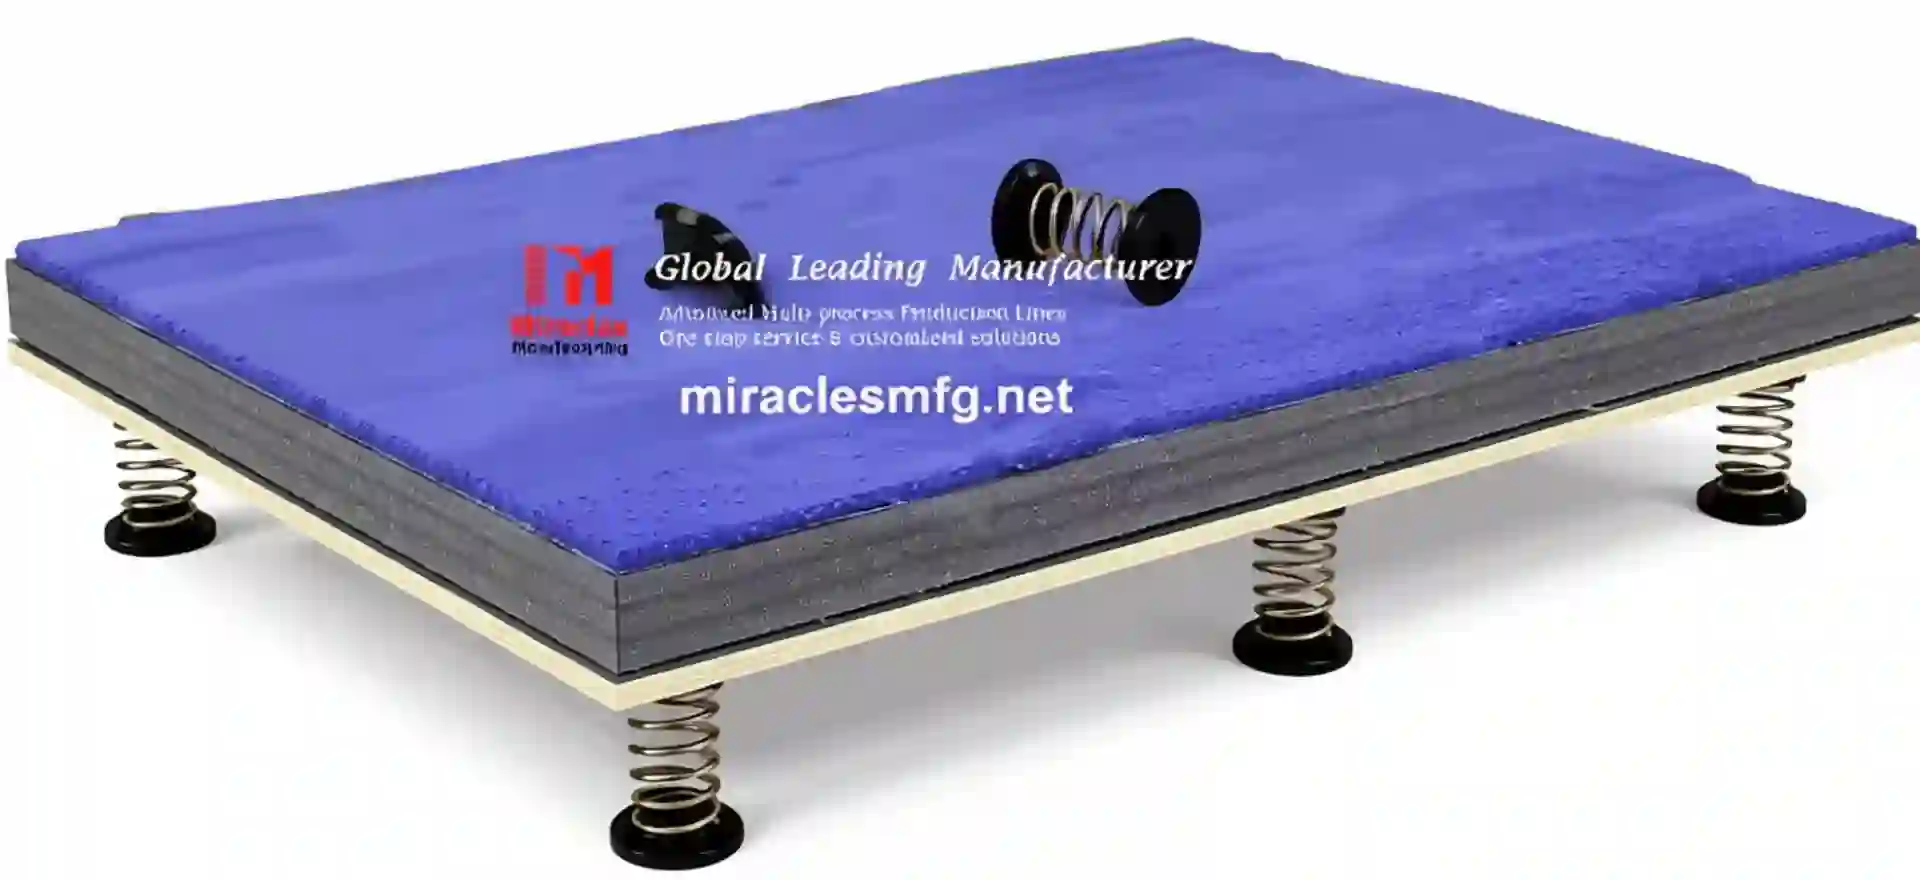
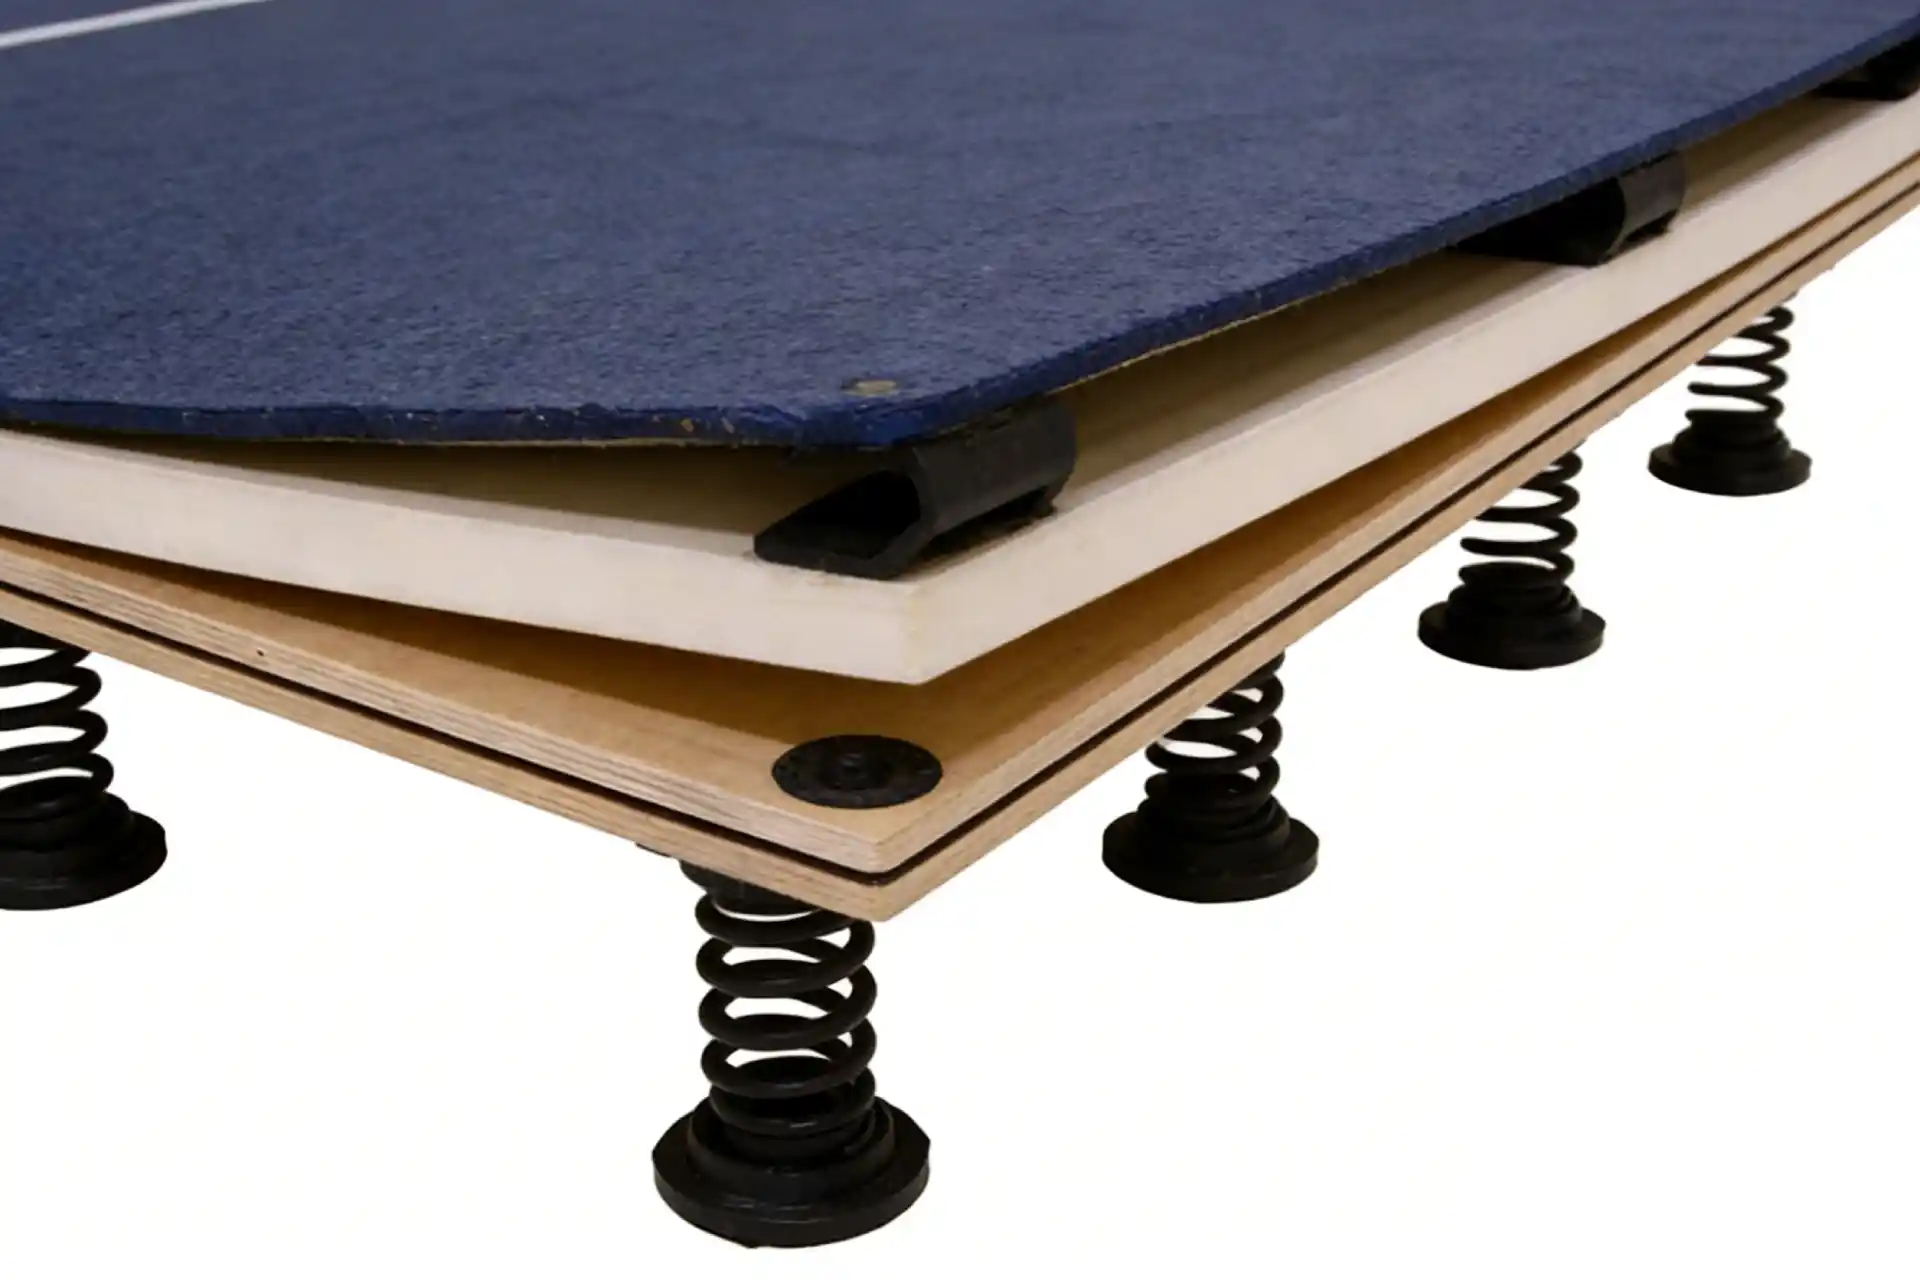
A spring floor kit is the core elastic response system installed beneath modular sports flooring. It typically consists of:
- Compression metal springs (usually spring steel)
- Plastic caps used to locate, protect, and stabilize the springs
Together, these components determine how the floor responds to load, including:
- Vertical rebound (energy return)
- Impact absorption (joint and injury protection)
- Stability under repeated high-frequency use
Unlike surface mats or top flooring blankets, the spring floor kit defines the mechanical behavior of the entire system. Two floors with identical top panels can feel completely different depending on the spring system underneath.
For this reason, experienced buyers do not ask only:
“Is this spring floor kit FIG standard?”
They ask:
“How does this system behave under real use, and how can it be adjusted to match our application?”

2. Key Factors When Choosing a Spring Floor Kit
2.1 Intended Use Comes First
Before looking at spring specifications, clarify how the floor will be used:
- Commercial gyms & fitness studios: prioritize shock absorption and comfort
- Professional training centers: require balanced rebound and protection
- Competition floors: emphasize rebound consistency and energy return
A spring floor kit that performs well for elite competition may feel too hard or aggressive for daily training, especially for youth or recreational users.
2.2 Spring Material and Manufacturing Quality
High-quality spring floor kits typically use:
- High-grade spring steel
- Controlled heat treatment
- CNC spring forming for dimensional consistency
Key quality indicators include:
- Stable elastic recovery after repeated compression
- Minimal permanent deformation
- Consistent spring height and diameter across batches
Surface treatment (such as zinc plating) also plays an important role by improving corrosion resistance and long-term durability, particularly in humid environments or facilities with frequent cleaning.
2.3 Cap Design and Tolerance Control
Plastic caps are often underestimated. In practice, they:
- Control spring alignment
- Protect springs from lateral movement
- Influence installation efficiency
Poor tolerance between the spring and cap can cause:
- Difficult assembly
- Caps loosening over time
- Uneven floor response
Well-designed caps should fit securely but not tightly, allowing quick installation while preventing detachment during use.
3. Understanding Spring Performance Without Over-Reliance on Numbers
Many buyers ask for a specific spring constant (N/mm). While laboratory data can be useful, field performance matters more than isolated values.
In real projects, spring floor systems are evaluated comparatively rather than absolutely.
Instead of asking:
“What is the exact spring coefficient?”
Experienced installers ask:
“How does this spring behave compared to systems we have already used?”
This leads directly to practical testing.
4. How to Test a Spring Floor Kit – Step by Step
4.1 Step One: Test the Spring Components
Before full installation, test individual springs by:
- Applying controlled load
- Measuring compression and recovery
- Comparing feel and resistance with previously used springs
- Record all the testing data or parameters
If the resistance and rebound characteristics are similar to a known system, the same spring spacing and layout logic can usually be applied.
This comparative method is widely used because it reflects real installation conditions rather than isolated lab values.
4.2 Step Two: Determine Initial Spring Spacing
Spring spacing has a greater effect on floor behavior than small differences in spring stiffness.
Typical logic:
- Wider spacing → softer overall floor
- Narrower spacing → firmer, more responsive floor
For replacement or upgrade projects:
- Use similar springs with similar parameters
- Start with the spacing used in the existing system
- Usually no need to change spacing
4.3 Step Three: Assemble and Test the Complete Floor
Once the spring floor is assembled:
- Perform jump and landing tests
- Observe rebound consistency across different areas
- Check for noise, instability, or uneven response
All the data you record is the most important treasurement:
- The purpose of the floor
- The spring specs
- The spring spacing
- What is the difference when you adjust the spring spacing
If you are eager to see our spring floor kit details
5. Matching Spring Floor Behavior to Application Types
5.1 Commercial Gyms and Fitness Facilities
Primary focus:
- Shock absorption
- Comfort during repetitive movement
Spring floors for gyms are usually configured with:
- Softer overall response
- Wider spring spacing
- Emphasis on durability rather than maximum rebound
5.2 Professional Training Facilities
Training floors must balance:
- Protection during frequent use
- Adequate rebound for skill development
These systems often use:
- Medium stiffness springs
- Adjustable layouts for different athlete levels
- Compatibility with additional safety mats
5.3 Competition-Level Floors
Competition floors prioritize:
- Consistent rebound
- Energy return
- Uniform response across the entire surface
Spring layouts are typically:
- Denser
- Precisely controlled
- Installed to match standardized performance expectations
7. Common Mistakes to Avoid
- Selecting springs based only on price
- Ignoring cap tolerance and material quality
- Assuming competition springs are always “better”
- Skipping full-floor testing before project approval
Each of these mistakes increases long-term risk and cost.
8. When to Consider Customization
OEM or customized spring floor kits are recommended only when:
- The performance could not be achieved by adjusting spring spaces
Customization typically involves:
- Spring stiffness tuning
- Height adjustments
- Cap material or geometry changes
9. Linking Product Selection to Reliable Supply
Beyond performance, B2B buyers must consider:
- Production consistency
- Batch-to-batch repeatability
- Long-term availability
A reliable supplier should support:
- Sample testing
- Technical documentation
- Stable bulk supply for repeat projects
10. Conclusion: Choose with Testing, Not Assumptions
Choosing a spring floor kit is a technical decision that should be guided by testing, comparison, and system-level evaluation, not by isolated numbers or marketing claims.
By understanding how spring stiffness, spacing, and application requirements interact, buyers can configure spring floor systems that perform reliably across training and competition environments.