
A living hinge is a thin flexible section that connects two plastic parts, allowing them to bend repeatedly without breaking. You see them every day on shampoo caps, toolboxes, and medicine bottles. When designed correctly, a living hinge can last for thousands of flexes. But when designed poorly, it cracks on the first use. This guide covers everything you need to know about living hinge design for injection molding. We explain material selection, hinge geometry, gate placement, and common mistakes. Whether you are designing a new product or fixing a broken hinge, these tips will help you get it right.
What Is a Living Hinge?
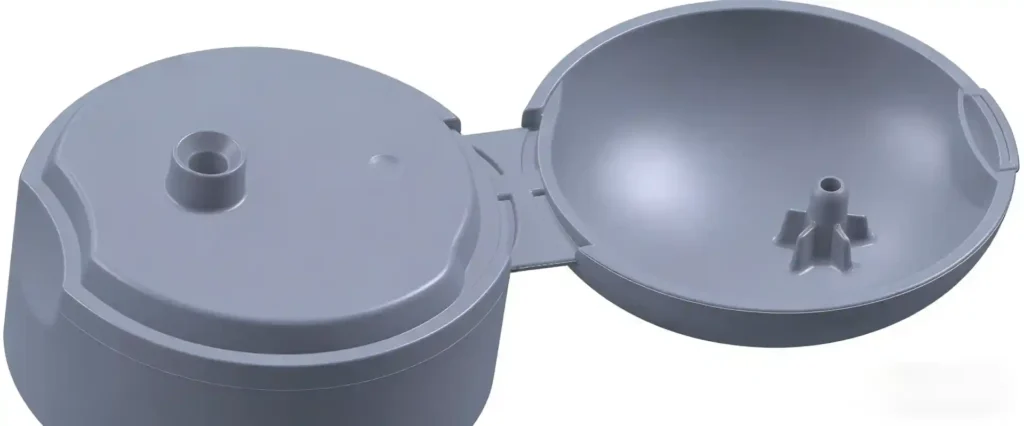
A living hinge is a thin section of plastic that connects two rigid parts. It is molded as one piece – no assembly needed. The hinge works because the material at the thin section flexes while the thicker sections remain rigid.
Most living hinges are made from polypropylene. This material can bend millions of times without failing. Other materials like polyethylene can also work, but they do not last as long.
How it works: When the hinge bends, the molecules in the thin section align along the bend direction. This alignment actually strengthens the hinge over time, up to a point. That is why polypropylene is so good for this application.
Material Selection for Living Hinges
Polypropylene (PP) – The Best Choice
Polypropylene is the standard material for living hinges. It has excellent flex fatigue resistance. A well‑designed PP hinge can last over a million cycles.
- Grade matters: Use a copolymer polypropylene, not homopolymer. Copolymer is more flexible and resists cracking.
- Melt flow: Choose a grade with medium to high melt flow (10–20 MFR) for better flow in thin sections.
Other Materials
| Material | Suitability for Living Hinges | Notes |
|---|---|---|
| Polyethylene (PE) | Good | HDPE works, but lower cycle life than PP |
| Nylon | Poor | Becomes brittle with moisture changes |
| ABS | Poor | Cracks quickly under repeated bending |
| Polycarbonate | Not suitable | Too stiff, will crack |
| TPE | Fair | Can work for low‑cycle applications |
A common pitfall: Using the wrong material is the number one reason living hinges fail. We have seen designers try ABS for a hinge, only to have it snap on the first bend. Stick with polypropylene unless you have a very good reason not to.
Hinge Geometry – The Key to Success
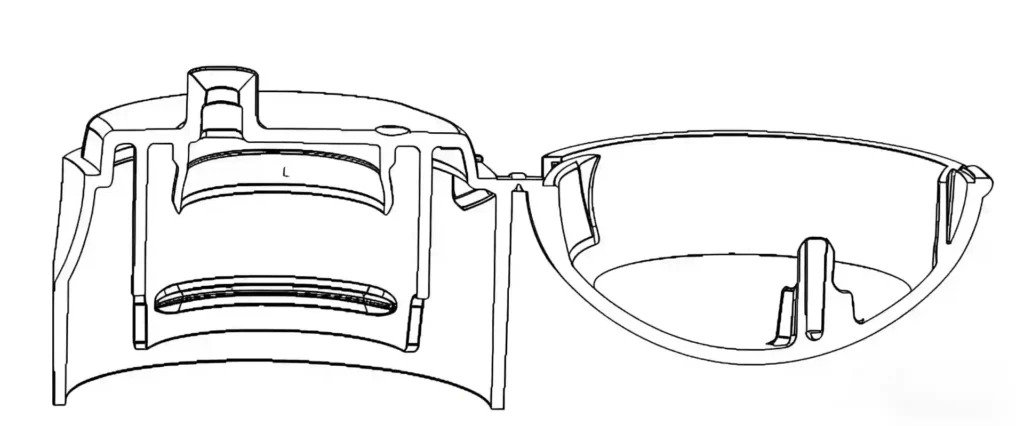
Thickness
The hinge thickness is the most critical dimension. For polypropylene, the ideal thickness is 0.25 mm to 0.38 mm (0.010 to 0.015 inches).
- Too thick: The hinge will not flex easily and may crack.
- Too thin: The hinge may break during ejection or early use.
Length and Width
The hinge can be as long as needed, but wider hinges are stronger. For very long hinges, consider adding a slight radius at the ends to distribute stress.
Radius at Hinge Ends
Sharp corners at the hinge ends create stress concentrations. Always add a small radius (0.5 mm minimum) where the hinge meets the thicker walls.
Hinge Shape
Most living hinges are straight, but curved hinges are possible. The key is to keep the thickness uniform along the entire bend line.
If you need help determining the right geometry for your application, our engineers can review your design. We offer custom injection mold design services that include DFM feedback on living hinges and other features. This early review ensures your hinge will perform as expected.
Gate Placement and Mold Design
Gate Location
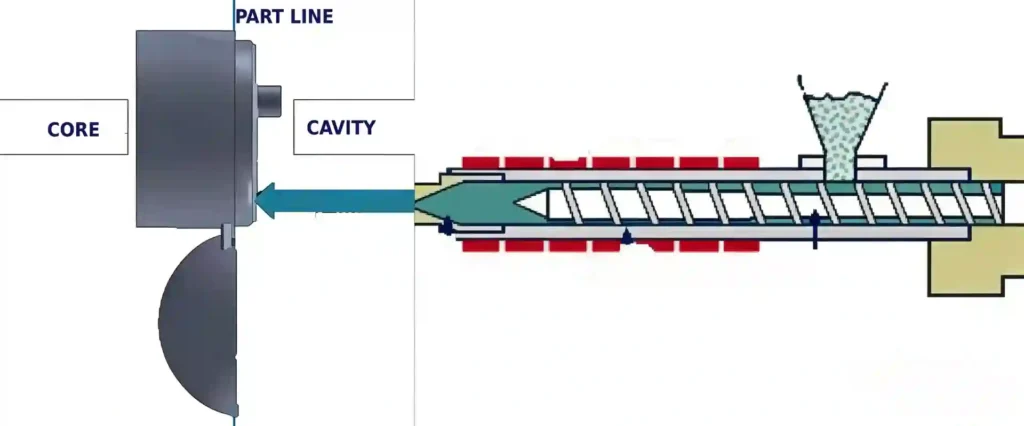
Gate placement affects how the plastic flows through the hinge. The goal is to get uniform flow and molecular orientation along the hinge axis.
- Place the gate so material flows parallel to the hinge (along its length), not across it.
- For long hinges, consider multiple gates or a fan gate to ensure even fill.
Weld Lines
If flow fronts meet in the hinge area, they create a weld line. Weld lines are weak points. Avoid them by gating to one side and letting the material flow through the hinge without splitting.
Ejection
Living hinges are thin and delicate. Ejector pins should not hit the hinge directly. Place pins on the thicker sections and use gentle ejection.
Mold Material
For high‑volume production, use hardened steel for the hinge area. The thin cavity details can wear over time, affecting hinge thickness.
Processing Tips for Living Hinges
Melt Temperature
Polypropylene should be molded at 200–250°C. Too cold, and the material may not flow fully into the thin hinge. Too hot, and it may degrade.
Injection Speed
Use fast injection to fill the hinge before it freezes. A hesitation can cause short shots or weak spots.
Mold Temperature
A warm mold (30–50°C) helps the material flow and reduces stress in the hinge.
Packing and Cooling
Do not overpack the hinge – it can create stress. Cooling should be uniform to prevent warpage.
Common Living Hinge Mistakes and Solutions
| Problem | Cause | Solution |
|---|---|---|
| Hinge cracks on first bend | Material too stiff, hinge too thick | Use PP, reduce thickness to 0.25–0.38 mm |
| Hinge breaks after few cycles | Stress concentration at ends | Add radius at hinge ends |
| Hinge is weak or thin spots | Flow problems, weld line in hinge | Check gate location, ensure flow parallel to hinge |
| Part sticks in mold | Draft insufficient | Add 1–2° draft on surrounding walls |
| Hinge tears during ejection | Ejector pins hitting hinge | Relocate pins, use gentler ejection |
Real‑scenario risk: A client designed a hinged lid for a container. The hinge worked fine in prototypes but failed in production. We traced the problem to a gate change that created a weld line right in the hinge. Moving the gate fixed it.
Testing Living Hinges
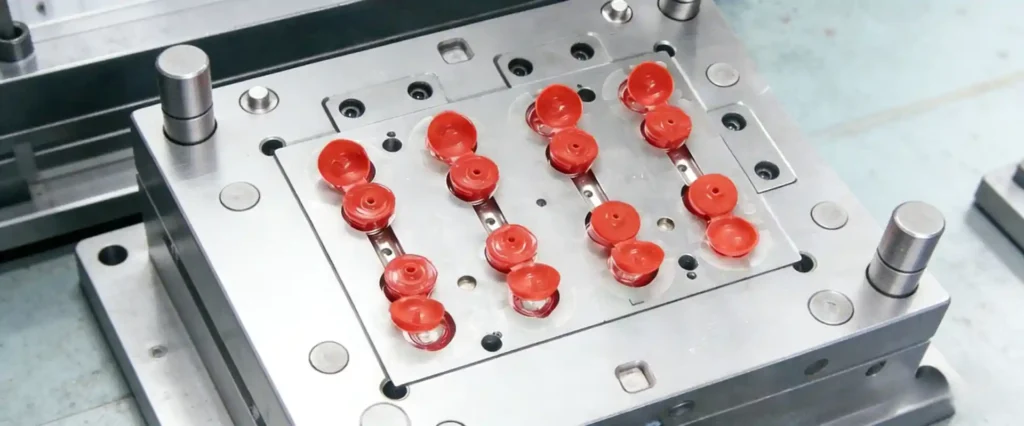
Before committing to full production, test your hinge:
- Manual flex test: Bend the hinge by hand 10–20 times. It should feel smooth, not catch or crack.
- Cycle testing: Use a fixture to bend the hinge thousands of times. Count cycles to failure.
- Environmental testing: Test at different temperatures and humidity levels. Polypropylene performs well, but always verify.
For a deeper understanding of hinge design principles, read our detailed mold design guide.
Living Hinge Design Checklist
Use this checklist before finalizing your design:
- Material is polypropylene (copolymer grade)
- Hinge thickness is 0.25–0.38 mm
- Radius at hinge ends (0.5 mm minimum)
- Gate placed for flow parallel to hinge
- No weld lines in hinge area
- Draft on surrounding walls (1–2°)
- Ejector pins avoid hinge area
- Prototype tested for flex life
Frequently Asked Questions
Q1: Can living hinges be made from materials other than polypropylene?
A: Polyethylene can work for low‑cycle applications. For high‑cycle hinges, polypropylene is the only reliable choice.
Q2: What is the minimum thickness for a living hinge?
A: For polypropylene, 0.25 mm is the practical minimum. Below that, the hinge may be too weak or hard to fill.
Q3: How long will a living hinge last?
A: A well‑designed polypropylene hinge can last over a million cycles. Actual life depends on stress, temperature, and frequency of bending.
Q4: Can living hinges be used in outdoor products?
A: Yes, polypropylene has good UV resistance, but extended outdoor exposure may require UV‑stabilized grades.
Q5: Do living hinges need special mold design?
A: Yes. Gate placement, venting, and ejection must all account for the thin hinge section. Work with an experienced mold maker.
Q6: What is the maximum length for a living hinge?
A: There is no fixed limit, but very long hinges may need multiple gates or special flow analysis to ensure uniform fill.
Summary
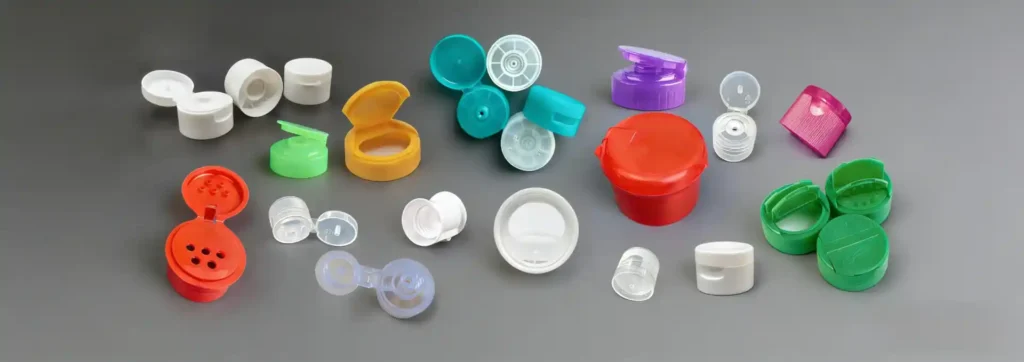
Living hinges are an elegant way to create flexible connections without assembly. With the right material (polypropylene), proper geometry (0.25–0.38 mm thickness, radiused ends), and correct gate placement, you can create hinges that last for years.
At Miracles Manufacturing, we have extensive experience with living hinge designs. We help clients avoid common pitfalls and produce hinges that perform. Contact us to discuss your next project.